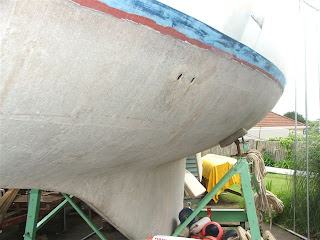
Well, my mate Bill who will be doing the boatbuilding work on the boat visited and we discussed how far we should go back into the remaining ply. Bill tapped around and found that the plywood I thought was solid was actually not - so we go a chisel out and cut a hole back to the underlying glass. Then we decided to lose all the plywood completely, as you can see from this shot.
Another major decision that I have made is to replace the existing opening portlights, with either new, modern opening ports or with fixed ports. As we are removing the interior plywood that packs out the old ports, we would need to cut the outside lips of these down as they would protrude through. As well as the extra work involved, we would also then be back to trying to make them watertight - an uphill job. New ports usually fit from the outside in, so immediately you have sealed the port surround and reduced the leak potential.

The teak trim simply unscrews, once you have removed the teak plugs. You can see again here how the headliner is wrapped over the top of the teak veneer ply, then the solid teak trim attached.

This shot gives a wider view of the forward end of the coachroof, with some trim removed.

About 3 minutes later, with trim removed and crowbar utilised to pull the screws out that hold the layers of plywood on. We will refinish with the modern method - flowcoat, coving, painting. It should give us a clean, light and spacious feel.

Oh yeah I have also removed a lot of the wiring and rubbish from the engine room.

This shows the headlining partially ripped off, with the deck beam exposed. You can see the amount of water damage on th eteak which gives you an indication of how much this boat leaks.

The covering piece of thin teak has been levered off and the retaining screws removed. The headliner can then be peeled off the deckhead.
 I have ripped out the forward head and found major rot in the plywood floors beneath the sink unit and the plinth the head sits on. You can see the fiberglass shelf that attaches the floors to the hull, unfortunately the floors themselves have gone missing in action. Who knows what was holding it all together for our trip home, although this does allow me to understand how I could shorten the backstay by 100mm and still not be able to get decent rig tension!


 Well, my mate Bill who will be doing the boatbuilding work on the boat visited and we discussed how far we should go back into the remaining ply. Bill tapped around and found that the plywood I thought was solid was actually not - so we go a chisel out and cut a hole back to the underlying glass. Then we decided to lose all the plywood completely, as you can see from this shot.


.jpg)
.jpg)
.jpg)
.jpg)


